Adding your SHA-1 Key
{warning} if you did NOT add your SHA-1 Key you will face some errors while verifying Phone Number
- go to Android Studio > Build > Generate Signed APK > (choose APK if prompted) > then create a New Key and fill in the needed information.
{primary} you can skip step 1 if you already have
.jkskey.
-
after getting your
jkskey open the folderFirebase Console - Files\Generate SHA1 Fingerprint Toolthen choose your OS type (x86 or x64) and open the filerelease.bat(make sure that you have Java JDK Installed) -
it will ask you for
key aliasthat you have set when generating the.jkskey
{primary} if you did not define key alias the default key alias would be
key0
- you have to either type the key path like:
D:\Folder\key.jksor simply drag and drop it - then you have to enter the key passowrd that you have set for the key ,the tool will show nothing as you type to make it more secure.
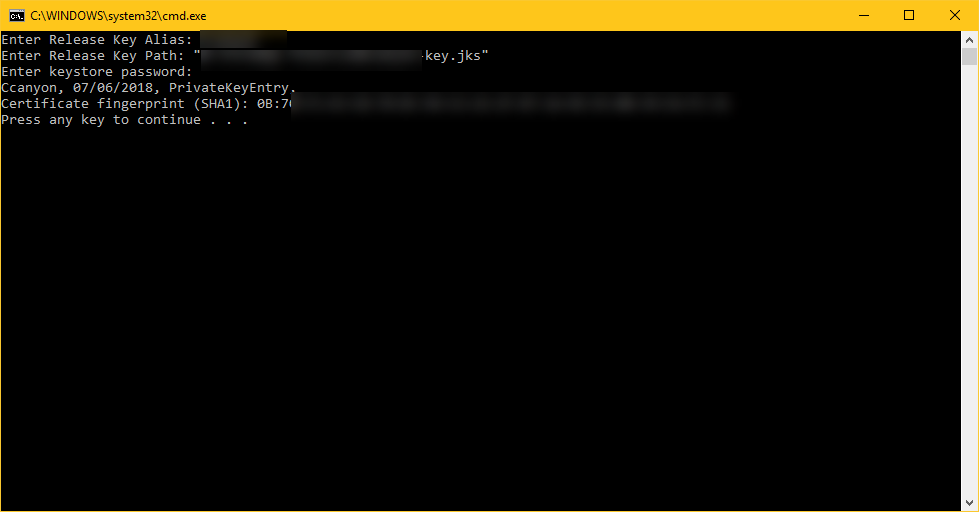
finally hit enter and you will get the SHA1 Fingerprint like this

copy the SHA1 key and go to your Firebase Project Console and click on little Gear icon > Project Settings >General

scroll down and you will find your package name, click on Add Fingerprint and paste in the SHA1 key that you've copied before. then click save
Get SHA1 Key From Google Play Store
if you want to upload your app to Google Play Store then you have to get your SHA1 Fingerprint From Google Play Console after Uploading your APK .
to do so go to Google Play Console > Release Management > App Signing > you will see your keys like this

copy SHA-1 Keys (App Signing & Upload Certifcates) and paste them in Firebase Console as you've done in Adding your SHA-1 Key
more info in this article
